Creating Texture with Acrylics: A Painter’s Guide
The question of texture in acrylic painting comes up often. While acrylics may seem flat compared to oils or as fleeting as watercolors, their true magic lies in their versatility. By exploring their characteristics and the tools available, you can unlock a wealth of textures to bring your paintings to life.
Heavy Body Paints: Building Bold Textures
For rich, tactile surfaces, heavy body acrylics are indispensable. Their thick consistency allows for robust applications, especially with impasto techniques. Unlike thinner paints, they retain their shape when applied, making them perfect for creating dramatic ridges and peaks with tools like palette knives. These paints give you the freedom to sculpt your canvas, letting each stroke stand as a testament to the energy of your hand.
I like to use Liquitex Heavy Body, Golden Heavy Body, and Lukas Cryl Pastos (the latter being decent in quality–between student and artists grade–but a lot cheaper than the former two).
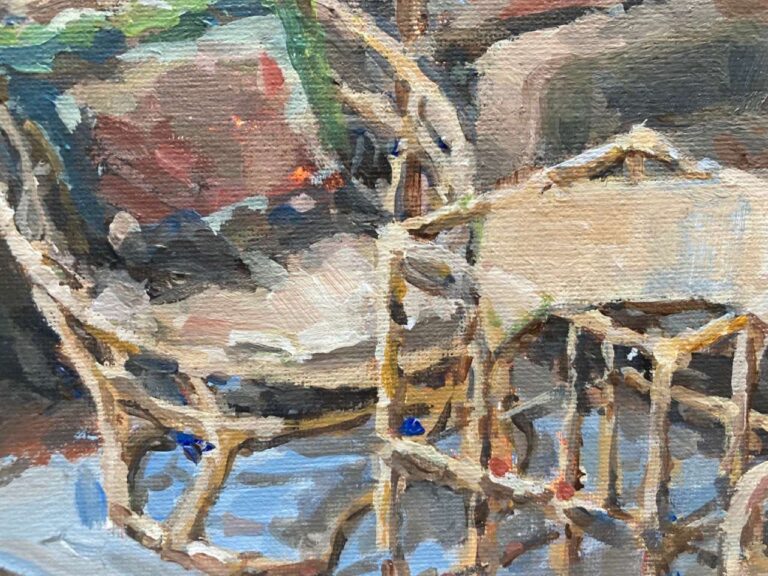
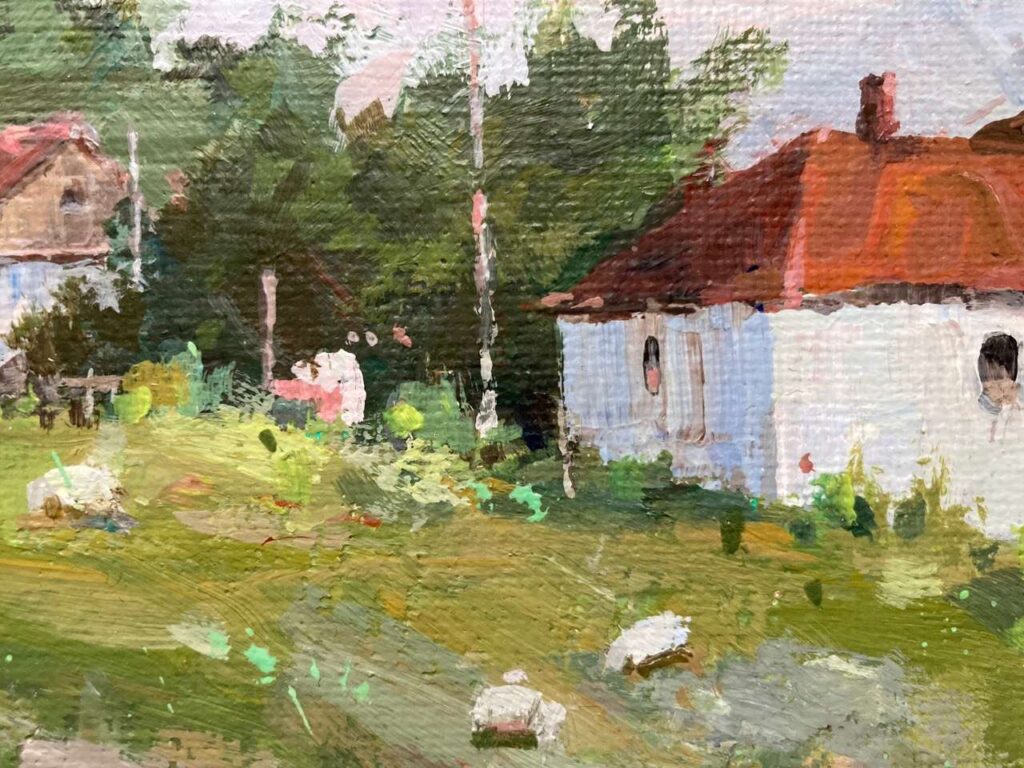
Close-up details of paintings where I used heavy body acrylics. Some areas resemble the appearance of oil paints rather than acrylics.
Exploring Acrylic Mediums
Acrylic mediums open a world of possibilities for texture. Gels, pastes, and additives can modify the paint’s consistency and behavior. Heavy gels, for instance, create sculptural effects, while modeling paste builds a base layer that adds depth even before paint is applied. For crackle effects or sandy finishes, specialty mediums like crackle paste or pumice gel can introduce intriguing dimensions that extend beyond brushwork.
I like to use Heavy Gel Medium from Liquitex or Amsterdam. They come in all “shapes and sizes”, each offering unique properties. Gloss, matte, or satin gels can thicken the paint, while the more specialized options—like modeling paste or crackle gel—allow for even more dramatic effects, adding sculptural dimension or intriguing fissures to your artwork.
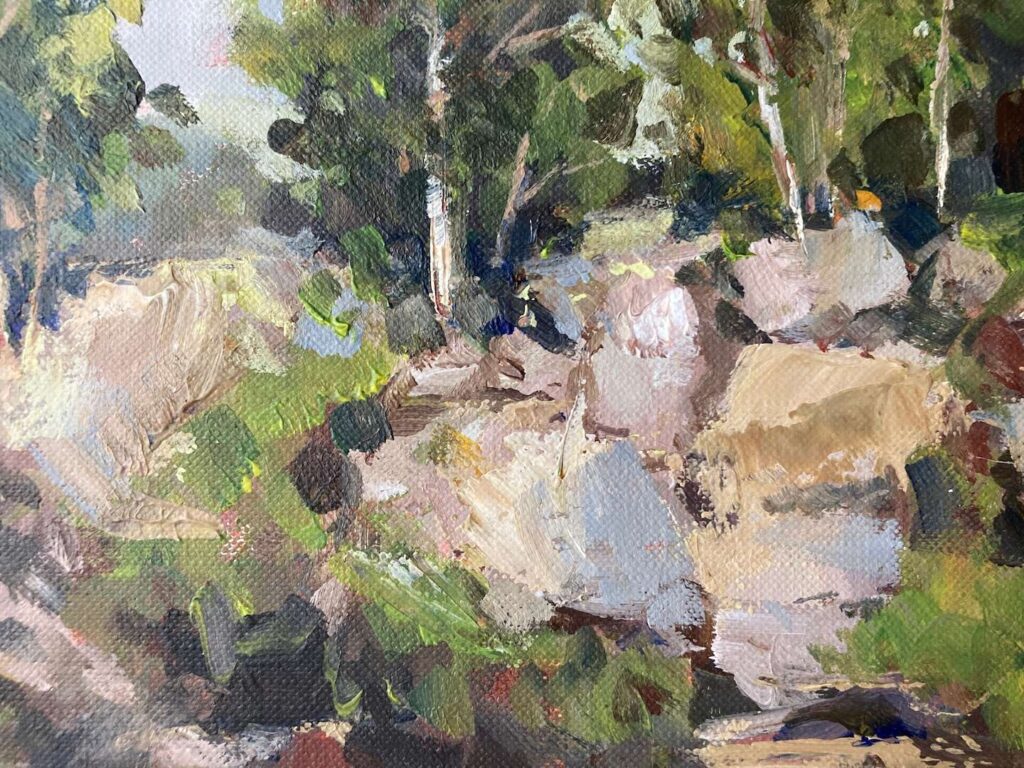
Close-up details of a painting where I used heavy gel. In some areas, you can observe an impasto-like texture.
The Versatility of Tools
Your choice of tools can dramatically influence the textures you achieve. Palette knives are invaluable for spreading, layering, or scraping paint, creating bold, tactile patterns. Sponges, on the other hand, can dab and lift paint for softer, organic textures, while silicone tools or combs carve through layers to reveal intricate designs. Experimenting with these tools encourages unexpected results and invites spontaneity into your process.
Brushes: The Art of Variety
The brushes you use—natural, synthetic, or even worn-out—add their own voice to your painting. I often reach for old, splayed brushes to create rugged, unpredictable marks. These brushes, once tight and controlled, now have a looseness that lends itself beautifully to textured strokes. They allow for a more rugged, unpredictable application of paint, creating rough marks and interesting patterns that wouldn’t be possible with a perfectly shaped brush. Or synthetic long-bristle brushes loaded with paint for sweeping, fluid strokes. Silicone brushes glide smoothly, offering sharp edges and a clean finish, while natural hair brushes hold more paint for rich, expressive gestures. Varying your brushes ensures your textures remain dynamic and engaging.
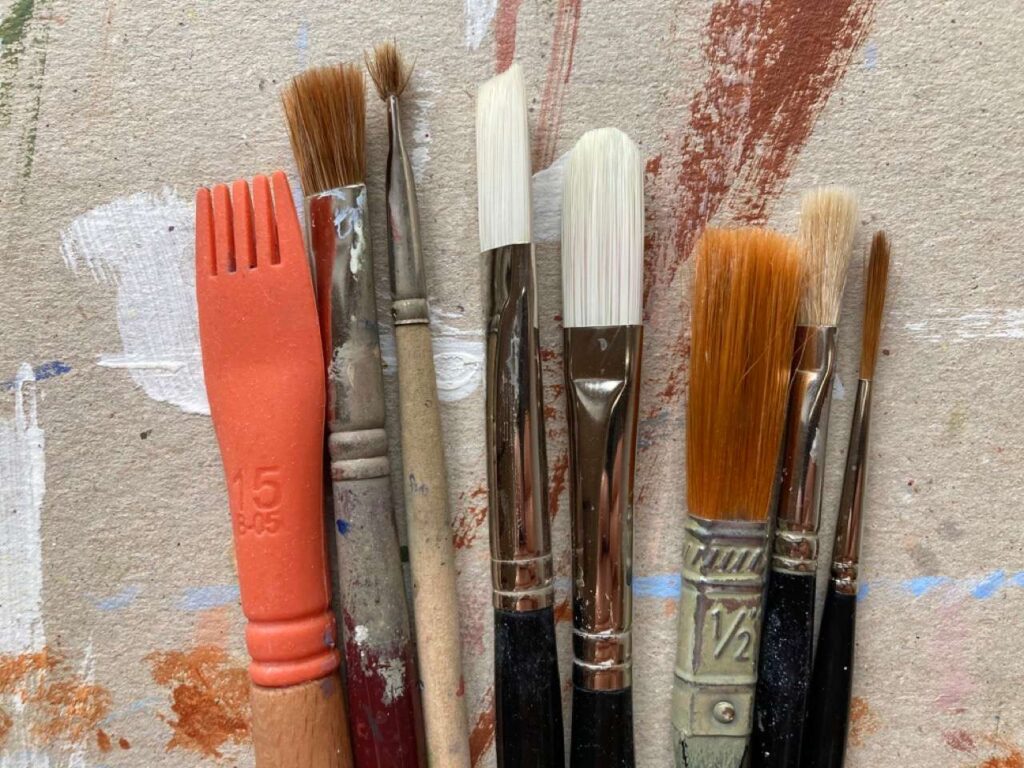
Some of the brushes that help me control a variety of textures
Control your brushwork
Balancing control with freedom is key to textured acrylic work. Load your brushes generously, let the paint flow, and embrace the serendipity of loose, intuitive strokes. At the same time, control the placement of textures by planning layers—thick over thin, dark beneath light—while allowing for happy accidents that often add life to the painting.
Finally, dry brushing is a technique where you use a stiff, almost dry brush to lightly skim over the surface of the painting, allowing the bristles to catch on the raised areas and leave a scratchy, textured mark. This is perfect for highlighting high points in your composition or adding subtle texture over a smooth or rough base.
Preparing Surfaces
Finally, texture begins with the surface itself. Base layers of gesso not only prime the canvas but creates a “tooth” for paint to cling to. Apply it thickly or scrape it unevenly to build interest before you even pick up a brush. Experimenting with pre-treated surfaces, like textured paper or wood, can also lead to exciting results, enhancing the interplay between the medium and the support.
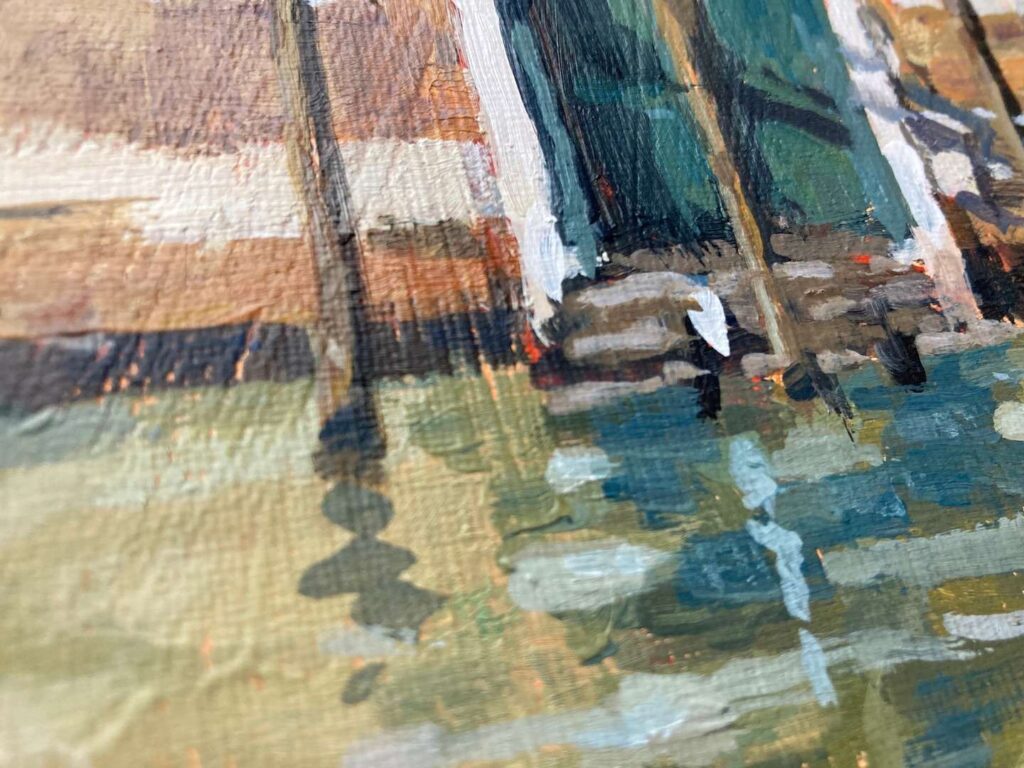
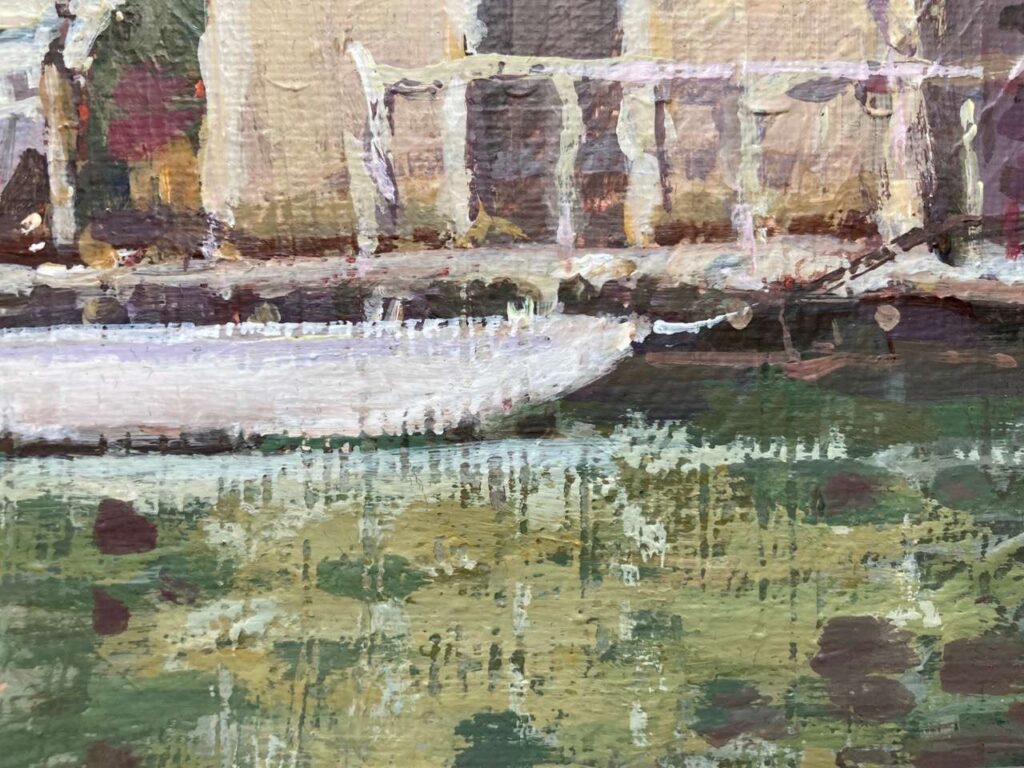
In both examples, you can observe the texture created by applying thick layers of gesso during surface preparation. In the example on the left, the brush marks are subtle, enhancing the texture of the facade and door. In contrast, the example on the right features a more rugged texture that complements the depiction of trees and water.
In Closing
Acrylics, with their adaptability, invite you to push the boundaries of texture. Whether through heavy body paints, specialized mediums, or varied tools and surfaces, the possibilities are endless. With a mix of intention and exploration, your textured paintings will not only look alive but feel alive.